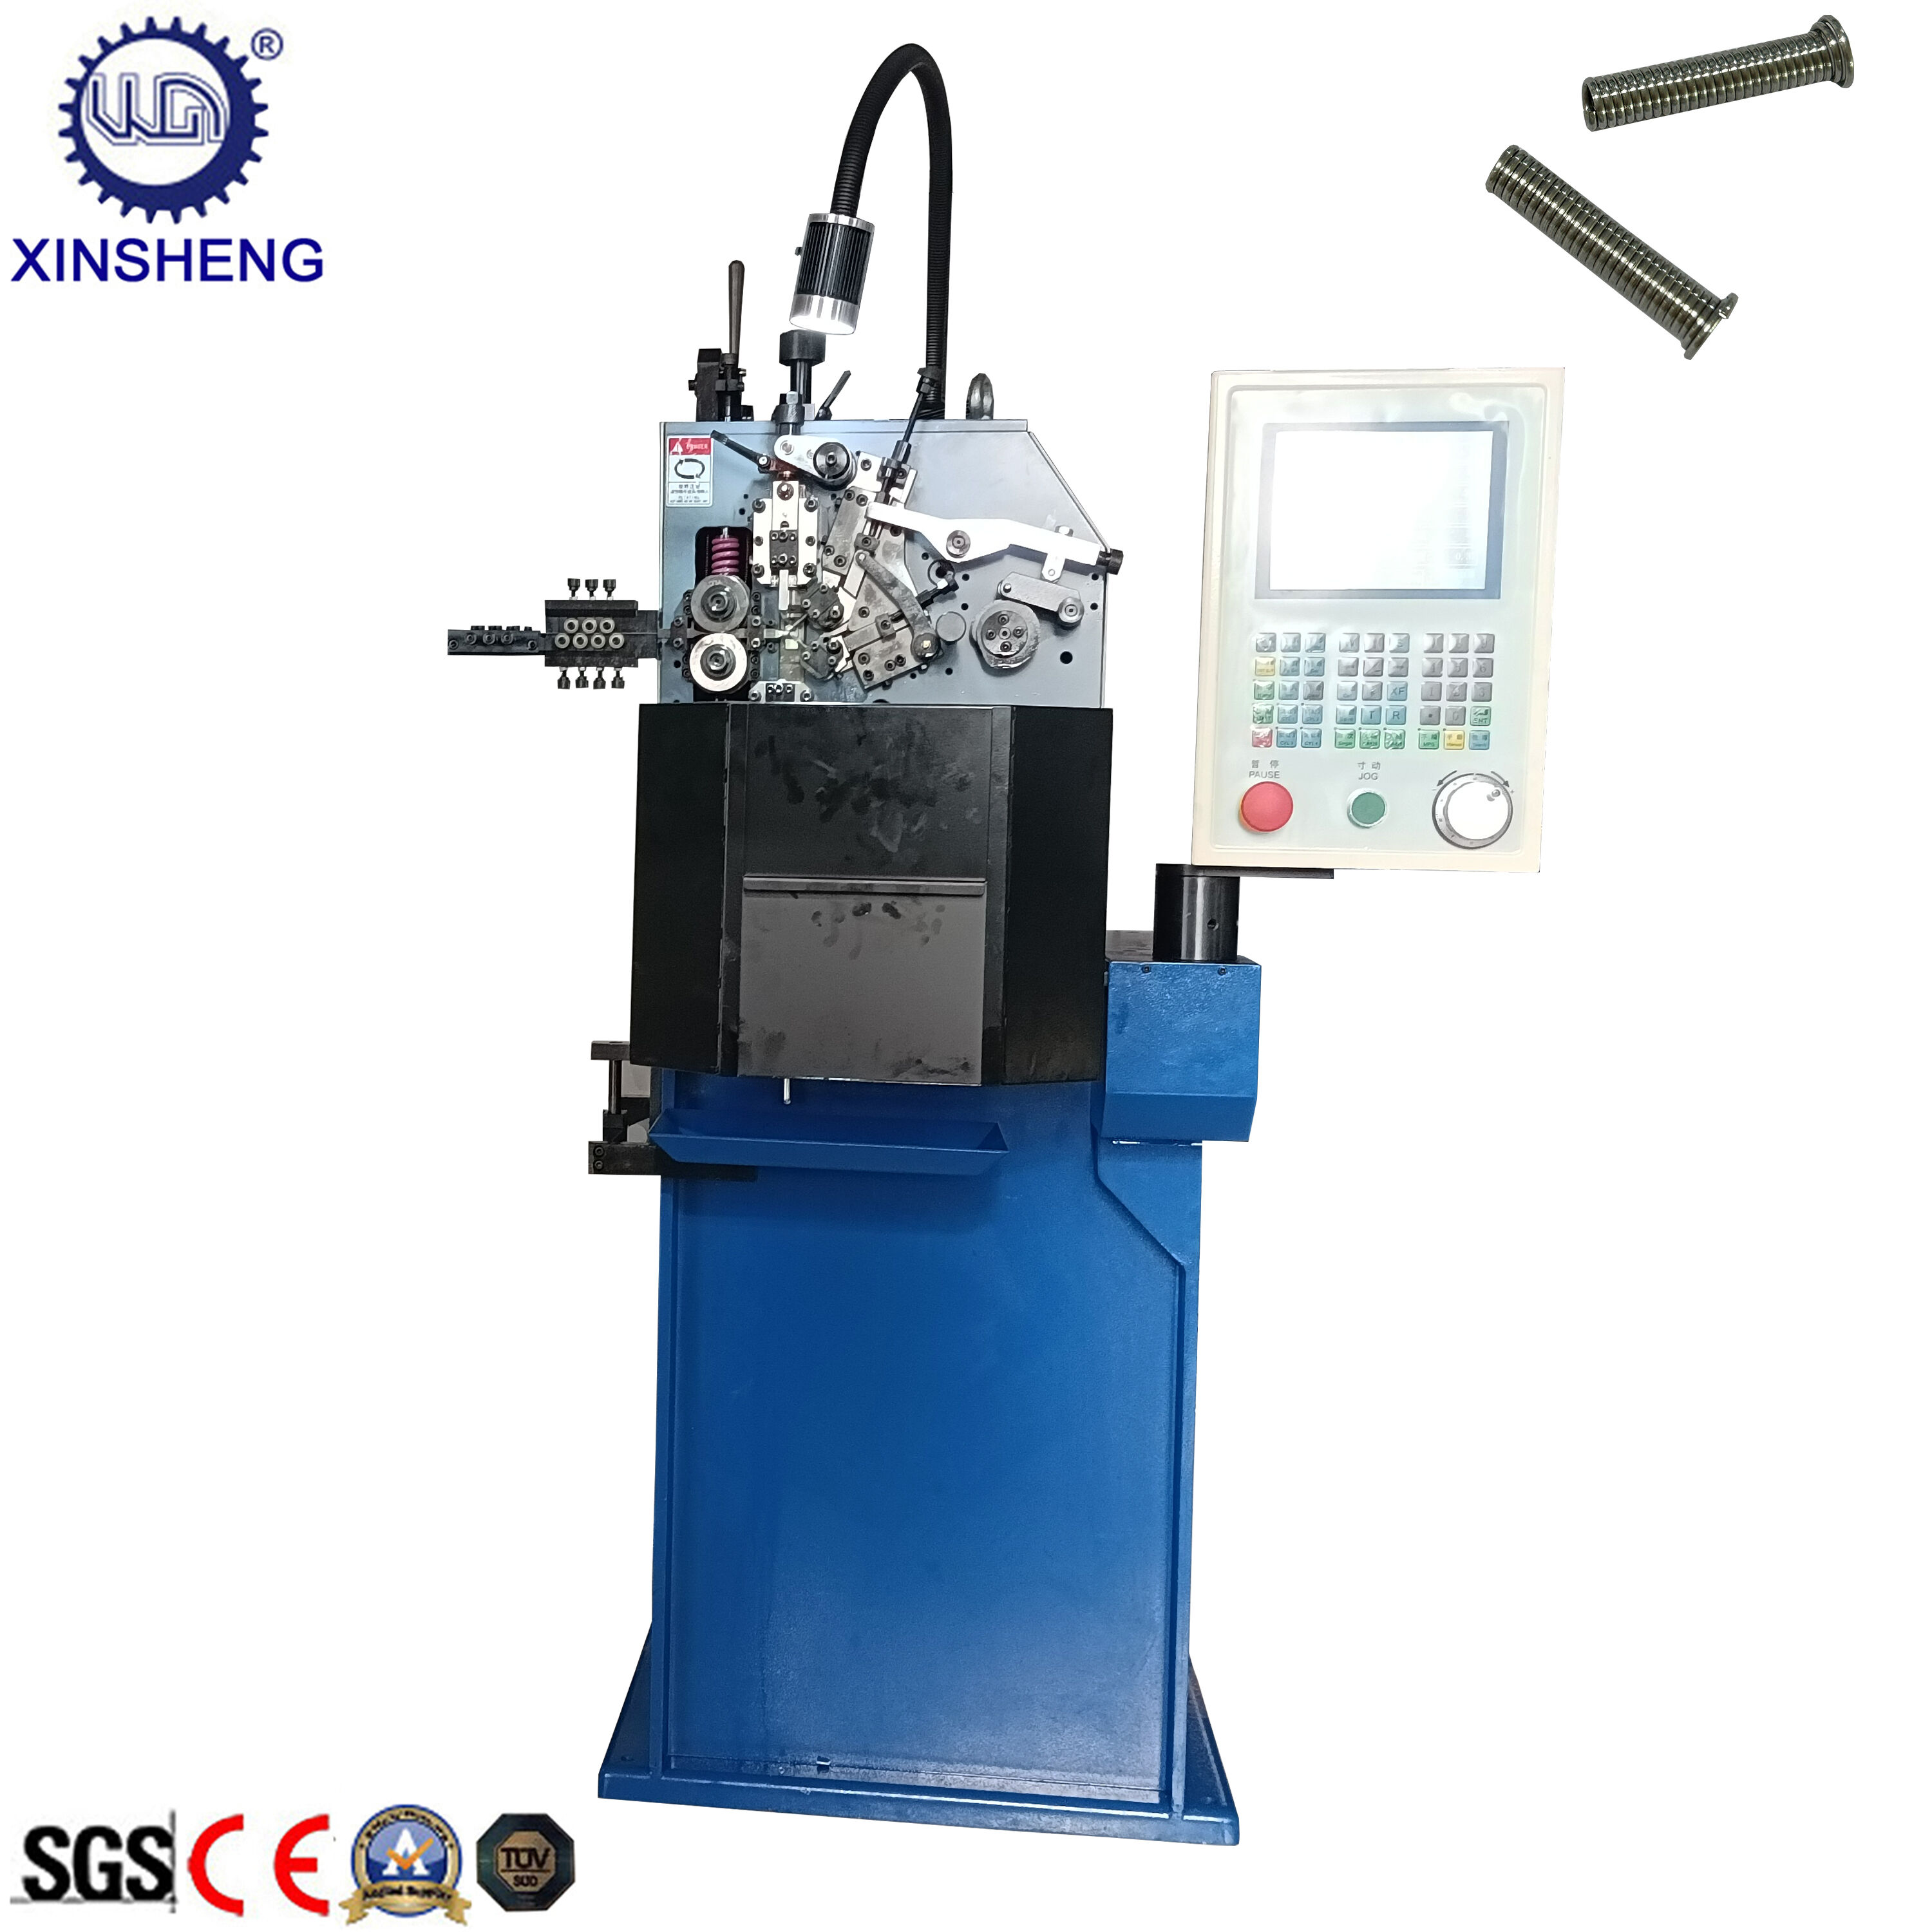
CNC-Controlled Precision: The Foundation of Repeatable Spring Geometry
How CNC Programming Enforces Tight Tolerances in Pitch, Diameter, and Free Length
Computer Numerical Control (CNC) systems take digital blueprints and turn them into actual springs with incredible precision, usually around plus or minus 0.001 mm. These machines handle all the complex calculations for things like how tightly wound the coils should be, how big each coil gets as it progresses, and where exactly the spring ends. The biggest advantage? No more mistakes from hand adjustments, so every batch comes out looking pretty much identical. Take automotive suspensions for instance. If the spacing between coils varies even slightly, cars will ride differently from one another, which is a problem when safety matters. Industry data indicates that switching to CNC manufacturing cuts down on size variations by about 92% over traditional methods. That means parts consistently meet specs without constant quality checks throughout production.
Critical Parameter Synchronization: Wire Feed Rate, Mandrel Rotation, and Tension Control
Spring integrity depends on real-time synchronization of three interdependent variables:
- Wire feed velocity (governing material volume per coil)
- Mandrel rotation speed (determining angular forming precision)
- Closed-loop tension control (maintaining optimal force between 10–50 N)
Even minor deviations cascade: a 5% tension drop can increase diameter variance by 0.3 mm. Modern CNC spring coiling machines dynamically adjust all three parameters up to 200 times per second using servo feedback—ensuring stable geometry during extended 24-hour runs and enabling consistent quality across batches exceeding 50,000 units.
Real-Time Process Monitoring and Adaptive Calibration in Spring Coiling Machines
Today's spring coiling machines come packed with Industry 4.0 tech like those fancy high-frequency sensors and closed loop controls. These help keep everything looking consistent throughout the whole manufacturing process. The embedded sensors watch over things like winding tension, how fast the mandrel spins around, and what's going on with temperature and humidity all at 500 times per second. All this info gets sent straight to smart control systems that can adjust themselves when they spot changes in materials or when tools start showing signs of wear. And it works pretty quick too—adjustments happen within half a second most of the time. Looking at the latest numbers from the Spring Manufacturing Report for 2024 shows these advanced systems cut down on dimensional problems by almost three quarters. They also hit that super tight tolerance range of plus or minus 0.01 mm when making springs for cars in large quantities.
In-Line Sensors and Closed-Loop Feedback for Dynamic Parameter Adjustment
Laser micrometers and strain gauges monitor wire diameter and tension in real time, triggering automatic corrections when thresholds are exceeded:
- Tension fluctuations beyond ±2% activate servo-driven compensators
- Coil pitch errors over 0.1 mm prompt immediate feed-rate adjustments
- Thermal sensors detect temperature-induced wire expansion and modulate coiling speed accordingly
This continuous feedback loop preserves the precise mechanical relationships among feed rate, mandrel rotation, and forming pressure. In medical spring manufacturing—where tolerances are exceptionally tight—these systems reduce tolerance violations by 40% compared to open-loop configurations.
Automated Calibration Cycles That Maintain Machine Accuracy Across Shifts and Batches
Self-calibrating spring coiling machines perform metrology checks during scheduled tool-change intervals using certified master springs. Key capabilities include:
- Laser-aligned reference systems verifying mandrel positioning every 8 hours
- Force sensors confirming coiling pressure within 0.3% variance
- Automated backlash compensation for lead screw mechanisms
These cycles prevent cumulative error accumulation, sustaining positional accuracy below 5 microns after 10,000 operational cycles. Data from 1,200 manufacturing shifts demonstrates that automated calibration maintains dimensional consistency above 99.6% between batch runs while reducing manual recalibration labor by 85%.
Integrated Quality Assurance: From First-Piece Validation to End-of-Line Defect Detection
First-Spring Verification Protocols and Statistical Process Control (SPC) Integration
The quality check starts right at the beginning with what we call first spring verification. Machines look at things like how long the spring is when not compressed, the spacing between coils, and the outside measurement compared to those computer designs from CAD before they start making thousands of them. This acts as a gatekeeper really, stopping whole batches of bad parts from getting made. Then there's this thing called Statistical Process Control software that keeps an eye on all those measurements while the machine is running. If something goes off track even by half a millimeter either way, the system catches it and makes adjustments to the tools themselves if the speed or tension gets out of whack. Companies that have these integrated systems tell us they're seeing around 30 percent fewer rejected parts because of size issues according to industry reports from last year.
Vision-Based Defect Detection for Coil Irregularities, Surface Flaws, and Dimensional Drift
Downstream high-resolution cameras perform millisecond scans of each spring. Machine learning algorithms compare coil symmetry, surface texture, and dimensional profiles against golden samples, detecting:
- Pitch inconsistencies exceeding 2% variance
- Surface pitting or micro-cracks via spectral analysis
- Diameter drift measured through laser triangulation
Defective units trigger immediate ejection; trend data informs predictive maintenance and mandrel recalibration. This closed-loop inspection achieves a 99.8% defect capture rate—eliminating manual sorting bottlenecks—and continuously refines detection sensitivity as production volumes scale.
FAQs
What are the advantages of using CNC systems in spring manufacturing?
CNC systems provide precision, reducing the need for manual adjustments and maintaining consistent spring quality with tight tolerances, critical for applications like automotive suspensions.
How do in-line sensors and closed-loop feedback work in spring coiling?
These systems use laser micrometers, strain gauges, and thermal sensors to dynamically adjust wire tension, feed rate, and coiling speed, ensuring the maintenance of spring geometry throughout production.
Can CNC spring coiling machines self-calibrate?
Yes, state-of-the-art machines have automated calibration cycles that use certified master springs for metrology checks, sustaining accuracy and reducing the need for manual intervention.


